So, you want to host WordPress website using cPanel/WHM? Cool,
Step 1: You must take the following general actions:
You must register for a cPanel account on the domain where you wish to install WordPress in order to host it.
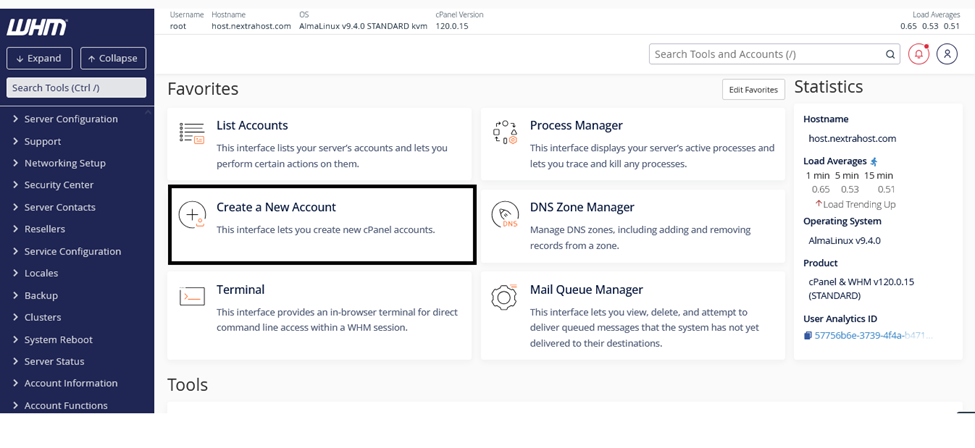
- You are in charge of hosting accounts in WHM.
- In WHM, create a cPanel account
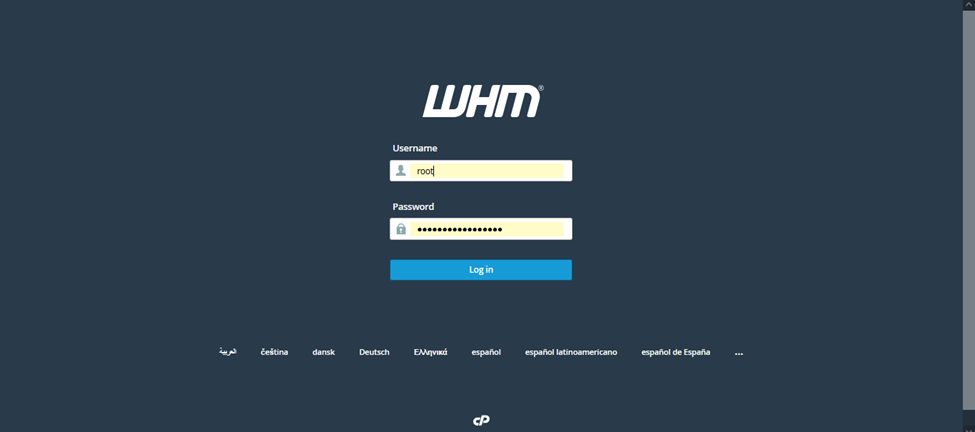
- Open your browser and navigate to https://your-server-ip:2087.
Step 2: Enter the following information:
- Enter the domain name, such as example.com.
- Username: The cPanel account’s username, such as example_user.
- Select a strong password for your cPanel account.
- Email: Give the account’s contact email.
- Package: Choose a package (you can choose a pre-defined set of resources for the account, although this is optional).
- Hit Create

- Account Creation Status & you get Account details.
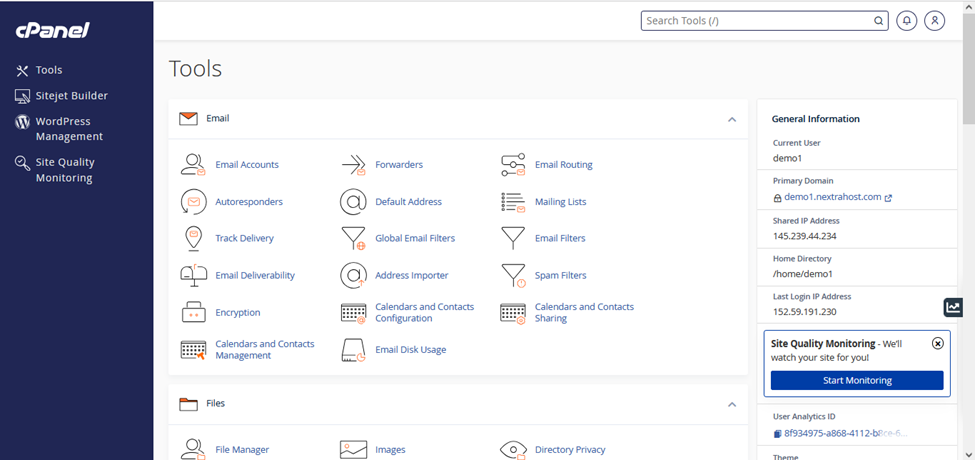
- After creating an account, go to https://example.com:2083 to access your cPanel account.
- Enter your login information, and select Log in.
- You are logged in; it will look like this.
Step 3 : Set up WordPress
Now that cPanel is set up, let’s get host WordPress website on that domain.
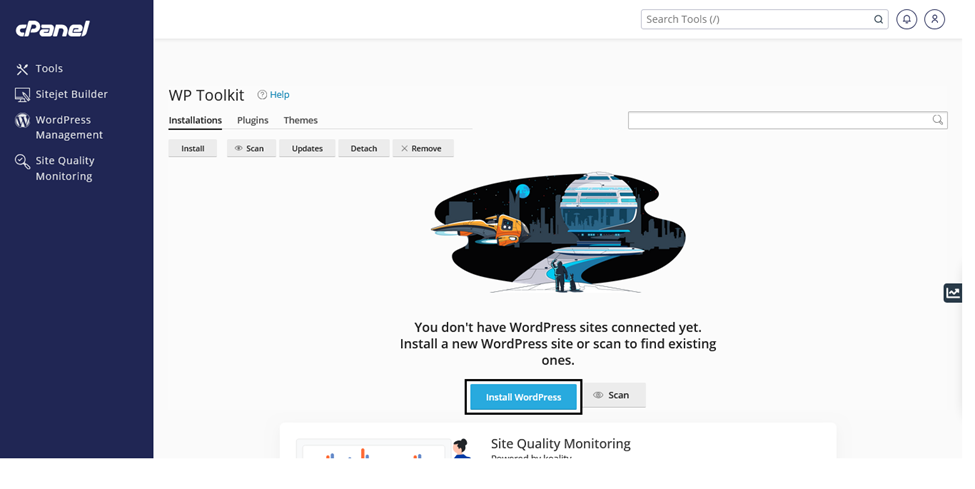
- You can now install WordPress on the domain after creating the cPanel account. First, select WordPress Management.
- After being sent to the Installation screen, select Install WordPress.
4 Adjust the parameters as follows:
- Administrator Username: Select a safe administrator username.
- Admin Password: Pick a strong one.
- Admin Email: Enter the admin email.
- Select Install.
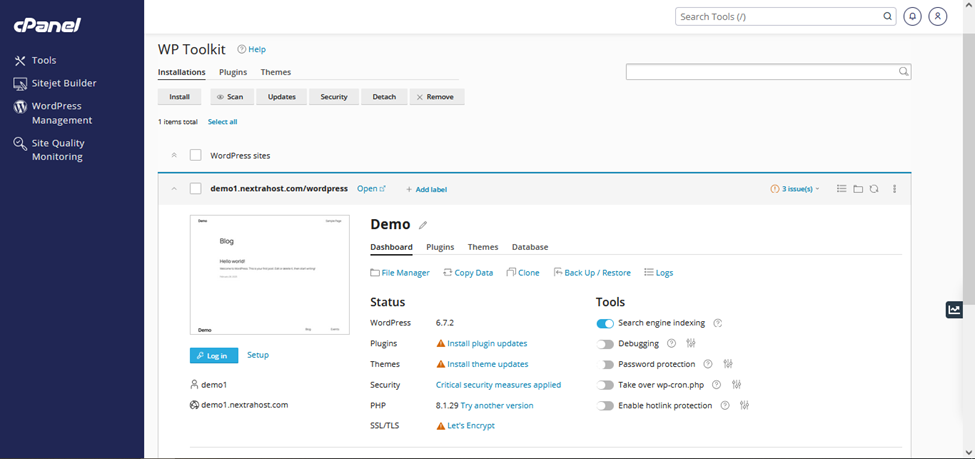
5 Let it Finish the installation process.
Step 3: Configure WordPress’ MySQL Database
WordPress requires a MySQL database to store its content. Follow these steps to create a database:
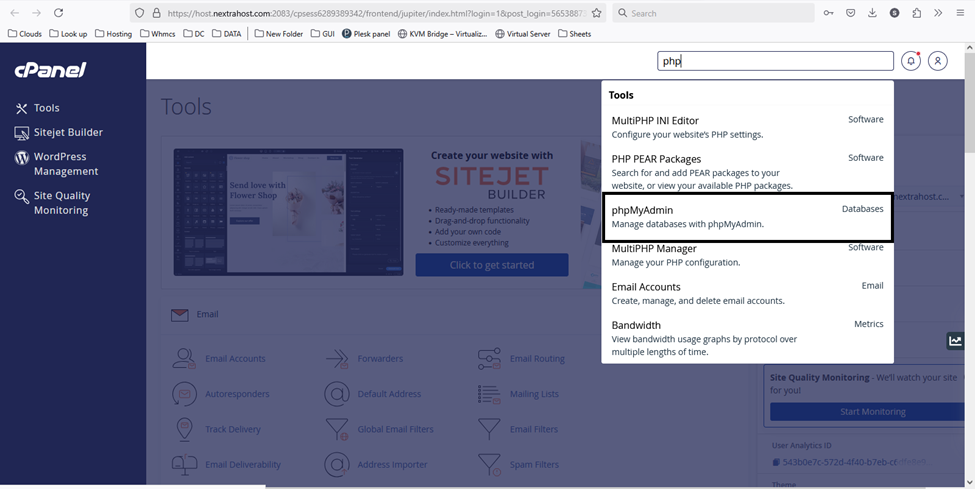
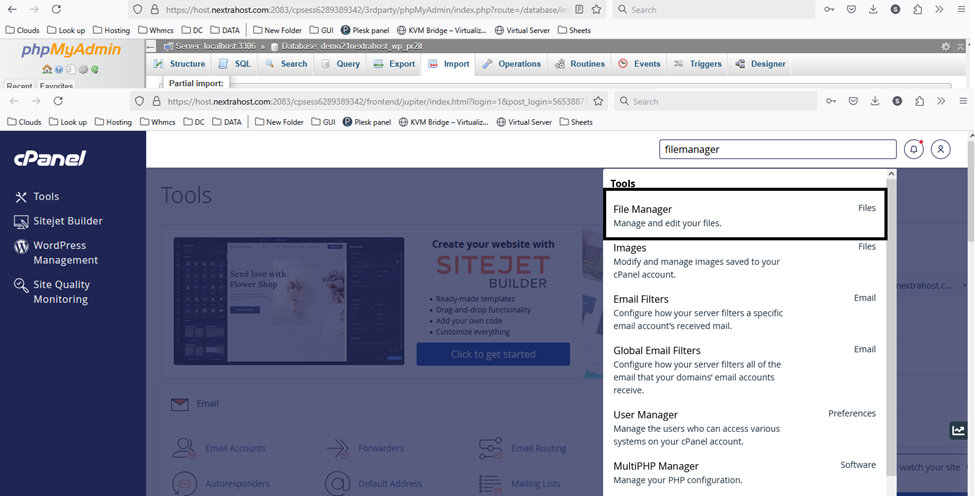
1. Navigate to phpMyAdmin
2. Locate the Databases area in cPanel and select PHP my admin
3. Select the Existing Database:
- Click on the database name containing the old tables in the left sidebar. The right panel will display a list of tables.
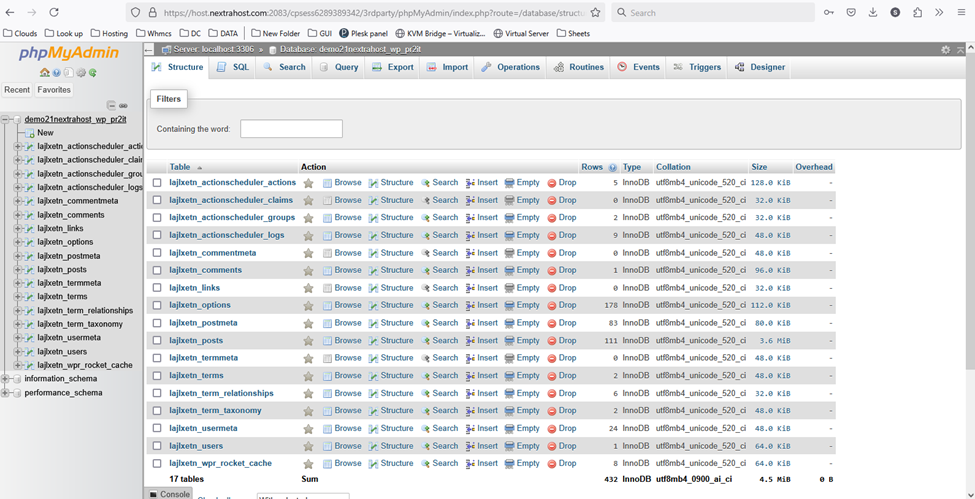
- Remove (Drop) Previous Tables
- Select Check All (located beneath the table list).
- Select Drop from the With selected: dropdown menu.
- Click “Yes” to confirm that all tables will be deleted.
4. Put the updated MySQL database online:

5. Verify the Upload:
After the import is finished, make sure that every table has been imported successfully.
Step 4: Upload The Backup files to File Manager Now that WordPress is installed and the database is restored
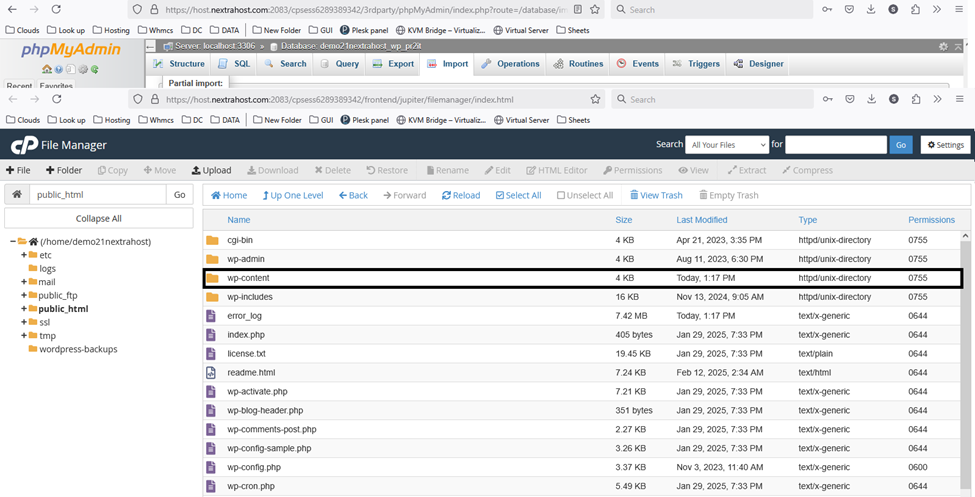
- the next step is to upload your Themes, Plugins, and Uploads folders to the accurate locations in cPanel.In cPanel, open File Manager.
- Open the public_html directory (this is where WordPress is installed).
- Open the wp-content folder, where you will upload:
- Themes (For WordPress themes)
- Plugins (For WordPress plugins)
- Uploads (For media files like images, PDFs, videos)

- Then go to wp-content and extract the zip files.

Conclusion
Installing WordPress on your cPanel account using WHM gives you full control. First, you make a cPanel account through WHM. Next, you upload and unpack the WordPress files. Finally, you wrap up the installation on the web. And boom, you’ve got WordPress running on your server.