

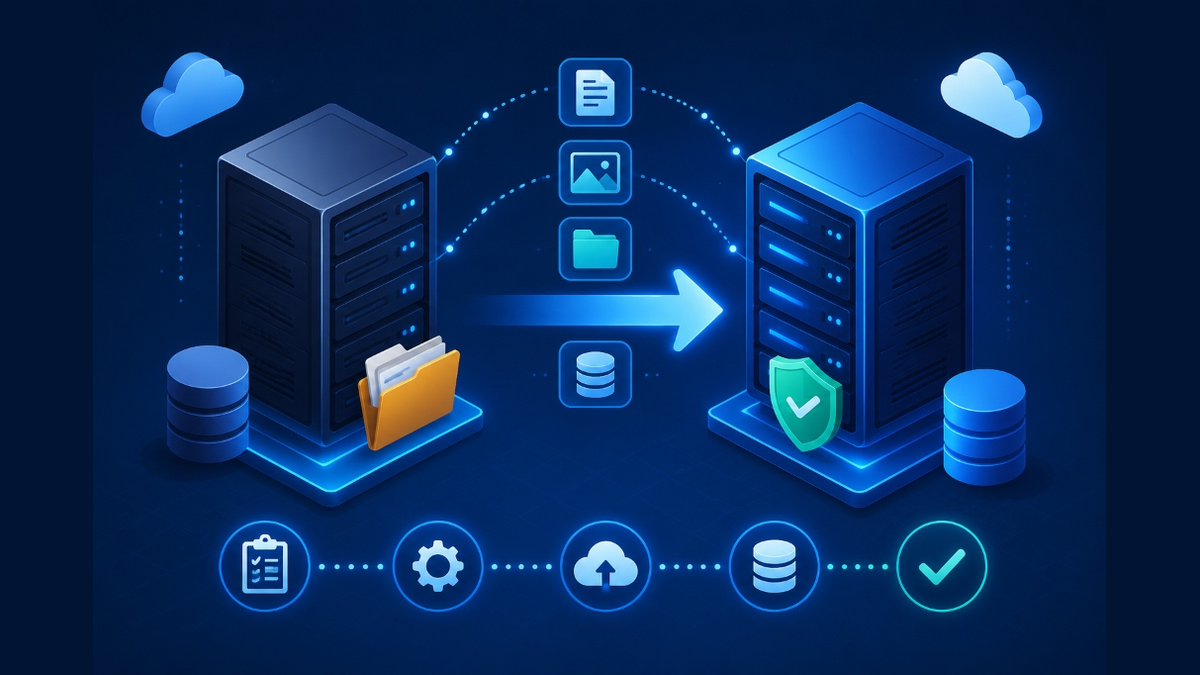
To migrate a website to a new VPS with zero downtime: 1) Lower DNS Time-to-Live (TTL) to 300 seconds 24–48 hours in advance, 2) Provision the web stack (Nginx/Apache, PHP, MySQL) on the new VPS, 3) Transfer website files using rsync and export/import the database via mysqldump, 4) Test the site locally by overriding your local /etc/hosts file with the new IP, and 5) Update public DNS A records to route visitor traffic seamlessly to the new server.
Outgrowing shared hosting is a major milestone for growing websites, online businesses, and digital agencies. However, the prospect of moving files, complex database tables, and SSL certificates often intimidates site owners who fear downtime or broken links. For verified technical specifications and deployment parameters, consult the official Linux Kernel Documentation.
With a structured migration protocol, moving your website to a virtual private server is a clean, risk-free process. By preparing the new server environment and testing thoroughly before modifying DNS records, visitors experience uninterrupted service.
Provisioning an agile high-performance migration VPS server provides the dedicated CPU and memory resources required to ensure faster page load speeds once cutover is complete.
Phase 1: Pre-Migration Planning & DNS Preparation
The secret to zero-downtime server migration lies in proactive DNS management. Standard DNS records have a Time-to-Live (TTL) of 24 to 48 hours (86,400 seconds), meaning global internet providers cache old server IPs for up to two days.
At least 24 hours before your migration window, log into your DNS registrar or Cloudflare dashboard and reduce the TTL on your primary A record to 300 seconds (5 minutes). This ensures that when you finally update the IP address, global traffic routes to the new server within minutes.
Database Table Locking Precautions: When exporting large database tables using ‘mysqldump’, utilizing the ‘–single-transaction’ flag ensures InnoDB tables are dumped consistently without locking production write operations on the live source website.
Media Directory Delta Syncing: Running an incremental rsync command right before updating the DNS record syncs only newly uploaded media assets, reducing final cutover synchronization time to under thirty seconds.
Organizations managing complex multi-domain environments or enterprise databases often engage a certified Linux migration specialist to automate data synchronization scripts and verify service dependencies.
Zero-Downtime VPS Migration Checklist
| Phase | Key Action | Technical Command / Tool | Objective |
|---|---|---|---|
| Preparation | Lower DNS TTL to 300s | DNS Registrar / Cloudflare | Instantaneous global cutover |
| Environment | Install LAMP / LEMP Stack | Nginx / PHP-FPM / MariaDB | Matching software dependencies |
| Data Transfer | Sync files & export database | rsync -avz / mysqldump | Full file & database parity |
| Staging Test | Local hosts file override | /etc/hosts or Windows hosts | Validate site before public switch |
| Cutover | Update DNS A Record | Pointing domain to new VPS IP | Traffic switches seamlessly |
Phase 2: Data Transfer and Staging Verification
Once your new VPS environment is configured with matching PHP and database versions, execute the data migration in two logical streams:
File Transfer with Rsync: Utilize `rsync -avz –progress /var/www/html/ user@new_vps_ip:/var/www/html/` to copy media files, themes, and configuration files. Rsync preserves file ownership permissions and resumes gracefully if network connections drop.
Database Export and Import: Create a compressed database dump using `mysqldump -u root -p database_name > db_backup.sql`. Transfer the file securely via SCP, and import it into your newly created database on the destination VPS.
For site owners migrating from cPanel environments, leveraging automated backup tools within cPanel server administration allows one-click full account package generation and automated restoration.
Advanced Database Synchronization and Zero-Loss Replication
Database migration represents the most critical phase when transitioning dynamic websites to a new virtual private server. Even minor connection drops during transfer can cause table fragmentation or transactional desynchronization.
For high-traffic platforms, running an automated mysqldump pipeline combined with temporary read-only locking guarantees absolute data integrity. This prevents customer cart updates or forum posts from slipping through during final synchronization.
Using Binary Logs for Near-Zero Downtime Cutover
Configuring temporary master-replica replication between the legacy host and your destination VPS allows database records to synchronize continuously in real time. Once latency reaches zero seconds, shifting DNS traffic incurs zero downtime.
- Establish Secure Tunneling: Create an SSH tunnel between servers to encrypt database transfer streams across public networks.
- Export Primary Snapshot: Execute consistent table dumps using single-transaction flags to avoid blocking active client queries.
- Replay Incremental Changes: Apply binary transaction logs recorded during the snapshot window to achieve complete state parity.
- Verify Integrity Hashes: Run table checksum scripts across critical tables to ensure perfect record alignment before cutting over.
Post-Migration DNS Propagation and Web Server Hardening
Lowering your DNS Time-to-Live (TTL) values 24 to 48 hours before migration ensures global resolvers pick up the new server IP within minutes. Failing to lower TTL causes prolonged split-brain routing where visitors hit two separate instances simultaneously.
Once DNS traffic settles on the new VPS, configuring automated SSL certificates, PHP-FPM process managers, and HTTP/3 protocols maximizes visitor response times. Monitoring access logs reveals leftover legacy calls and orphaned static assets immediately.
Essential Cutover Checklist
A structured cutover routine prevents human oversight during high-pressure migration windows. Following verified steps keeps production systems completely resilient.
- Validate Nginx/Apache Virtual Hosts: Confirm all rewrite rules, redirects, and security headers respond with HTTP 200 before updating public records.
- Audit File Permissions: Restrict web directory ownership to non-privileged web server users to eliminate unauthorized script execution.
- Reconfigure Mail Routing: Update MX, SPF, DKIM, and DMARC records to ensure outbound business emails remain fully authenticated.
- Enable Real-Time Metrics: Deploy system resource dashboards to monitor CPU, memory, and disk I/O as real user traffic arrives.
Comprehensive Post-Migration Health Checks and Rollback Planning
Even with meticulous preparation, unforeseen edge cases can surface once live visitors interact with your newly provisioned VPS. Establishing a comprehensive automated health inspection suite allows administrators to detect subtle anomalies before they escalate into customer-facing incidents.
Simulating concurrent user sessions with synthetic load testing tools verifies that PHP worker pools and database connection limits are sized adequately for real-world peak traffic. Concurrently, verifying external payment gateway webhooks and third-party API callbacks guarantees business transactions process without interruption.
Maintaining a Safe Rollback Safety Net
A disciplined migration strategy always preserves an immediate rollback option should unforeseen critical failures occur during cutover. Keeping legacy server environments intact and frozen for at least 72 hours ensures risk-free operational continuity.
- Preserve Legacy Snapshot: Maintain the original server in a read-only state so traffic can be diverted back instantly via DNS if unresolvable bugs emerge.
- Audit Transaction Discrepancies: Run automated delta comparison scripts to identify any transactions completed during the brief propagation transition window.
- Review Error Logs: Inspect
/var/log/nginx/error.logand PHP slow query logs to identify deprecated functions or missing PHP extensions. - Test Transactional Email Delivery: Send test orders and password reset emails to confirm SMTP relays are not blocked by spam blacklists.
Automated Cron Scheduling and Log Rotation Setup
Modern web applications rely heavily on background workers, queue listeners, and routine database cleanup scripts. On your new virtual private server, moving away from simulated web-triggered crons to native Linux systemd timers guarantees timely execution.
Simultaneously, unmanaged web server and application logs can rapidly consume disk storage, causing unexpected server freezes. Configuring /etc/logrotate.d/ with daily compression and 14-day retention keeps your fast NVMe storage clean and performant.
- Native Systemd Crons: Run scheduled tasks directly through root or user crontabs at precise intervals without visitor request dependency.
- Gzip Log Compression: Automatically compress rotated access and error logs to reduce historical storage consumption by over 90%.
- Log Anomaly Detection: Set up automated grep alerts to notify systems administrators whenever 5xx HTTP error frequencies spike.
- Queue Daemon Supervision: Utilize Supervisor or systemd service units to restart failed Laravel or Symfony background workers automatically.
Conclusion: Executing Flawless VPS Migrations
Migrating to a high-performance VPS empowers digital businesses with dedicated resources, customizable environments, and predictable server response times. By systematically executing pre-flight backups, automated data replication, and DNS TTL reductions, webmasters eliminate downtime risks entirely.
A successful transition establishes a robust operational foundation that supports surging traffic demands without compromising site stability. Investing preparation into every migration phase ensures your website reaps immediate performance benefits from day one.
For developers and organizations scaling web applications or requiring dedicated virtual environments, exploring high-performance Linux VPS hosting delivers guaranteed NVMe storage, KVM hypervisor isolation, and full root access for production workloads.
Frequently Asked Questions
How can I test my website on the new VPS before updating DNS?
Edit your local computer’s hosts file (located at /etc/hosts on Linux/Mac or C:\Windows\System32\drivers\etc\hosts on Windows). Add a line mapping your domain name to the new VPS IP address to preview the site securely in your browser.
How long does DNS propagation take after updating the A record?
If you lowered your TTL to 300 seconds 24 hours prior, global propagation completes within 5 to 15 minutes. If TTL was left at default values, propagation may take between 24 and 48 hours.
What happens to orders placed during the migration on an eCommerce site?
To avoid split-brain order loss, put your old store into maintenance mode or configure live database master-slave replication immediately before updating the DNS record so transactions write to the new database.
How do I transfer email accounts when migrating to a VPS?
If using control panels like cPanel or HestiaCP, full account backups automatically transfer email mailboxes. If migrating unmanaged servers, sync maildir folders via rsync or use IMAP migration tools like imapsync.
When should I cancel my old hosting account after migrating?
Keep your old hosting account active for at least 7 to 10 days after migration. This ensures all stray DNS caches clear completely and provides a safe fallback backup if any missing files are discovered.

