

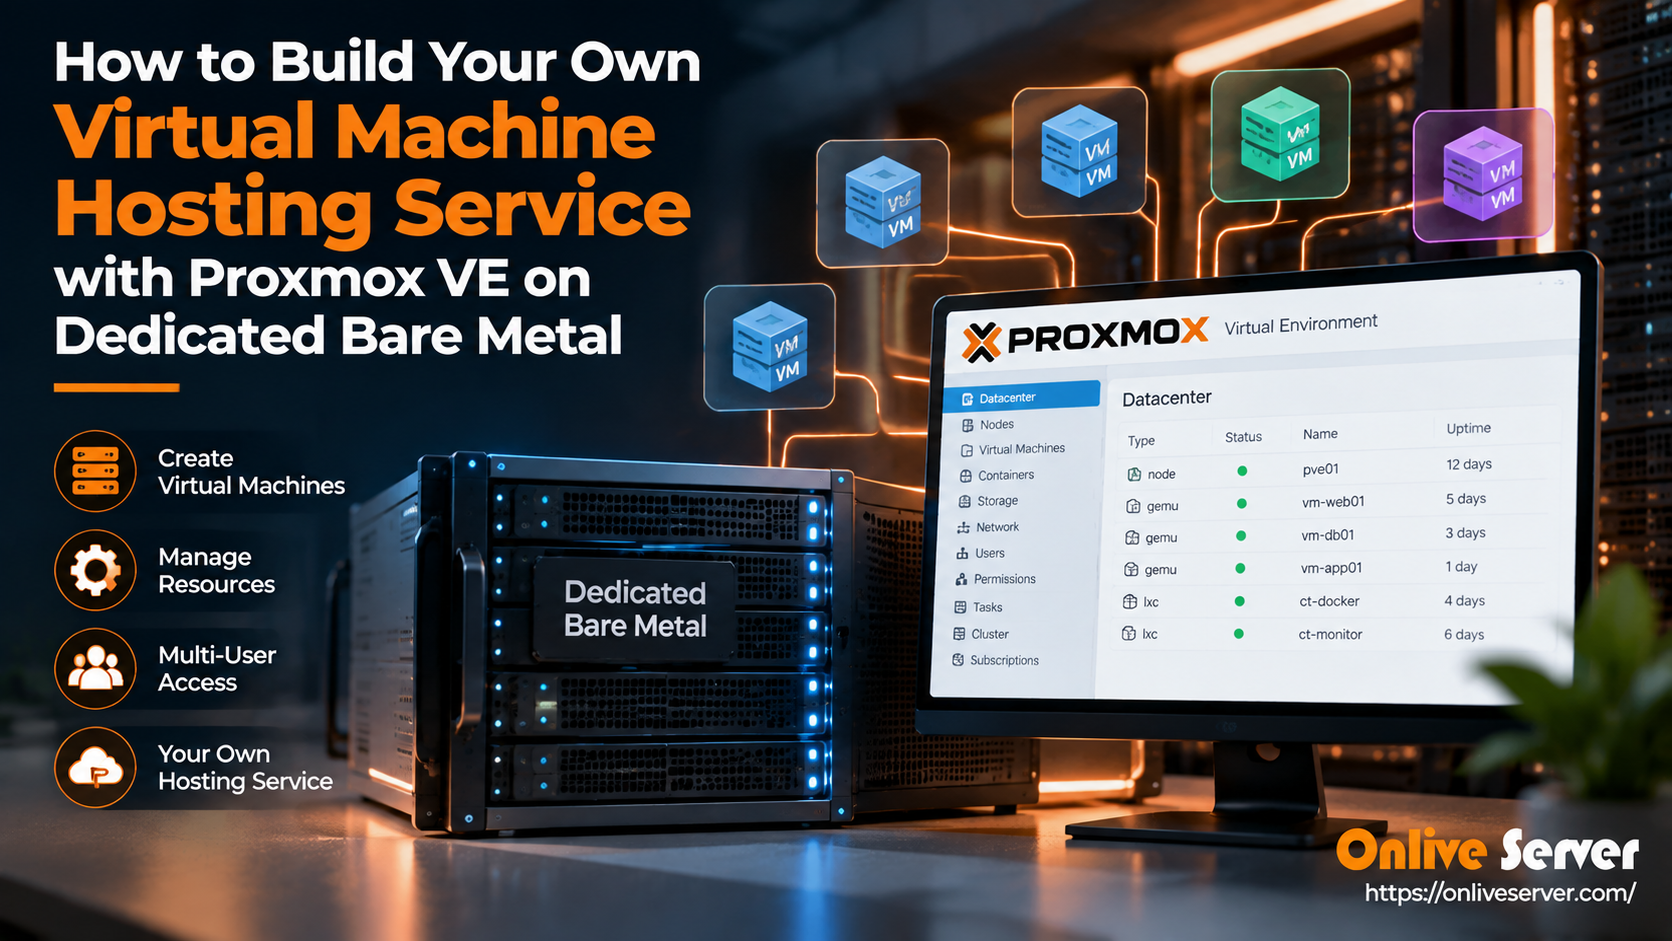
To build a VPS hosting service using Proxmox VE, install the bare-metal hypervisor on high-compute dedicated hardware, configure ZFS storage pools for fast snapshotting, assign routed public IPv4/IPv6 subnets across virtual bridges, and integrate billing automation using WHMCS or Blesta via the Proxmox REST API.
Launching a private cloud or virtual machine hosting business is an attractive revenue stream for web hosting entrepreneurs, MSPs, and digital agencies. Instead of reselling rigid third-party cloud instances, hosting providers build custom VPS environments directly on bare-metal servers.
Proxmox Virtual Environment (VE) has emerged as the premier open-source virtualization platform. With native KVM full virtualization, lightweight LXC containers, robust software-defined networking, and built-in ZFS storage management, Proxmox eliminates expensive proprietary hypervisor licensing fees.
However, turning a raw physical server into a secure, automated multi-tenant hosting business requires deliberate infrastructure planning. Partnering with specialists in Proxmox VE server management ensures hypervisor clustering, network routing, and automated backups are configured correctly from day one.
Selecting the Right Dedicated Server Hardware
The stability of your virtual machine hosting service depends on the physical hardware supporting your hypervisor. Overcommitting low-grade consumer components leads to disk I/O bottlenecks and hypervisor crashes.
Enterprise hosting providers select high-core AMD EPYC or Intel Xeon processors with ECC memory. ECC RAM prevents bit-flip data corruption that could otherwise compromise multiple virtual guest instances simultaneously.
Securing high-compute bare-metal dedicated server hardware equipped with enterprise NVMe storage in ZFS RAID 10 delivers the sustained read and write throughput essential for hosting dozens of concurrent VMs.
KVM Virtual Machines vs. LXC Containers on Proxmox
| Feature | KVM (Kernel-based Virtual Machine) | LXC (Linux Containers) |
|---|---|---|
| Isolation Level | Full hardware virtualization (separate kernel) | OS-level virtualization (shared host kernel) |
| OS Compatibility | Linux, Windows, BSD, Custom ISOs | Linux distributions only |
| Resource Overhead | Moderate (virtual hardware emulation) | Near-zero (native host process speed) |
| Recommended Use Case | Public commercial VPS hosting | Internal agency staging & managed containers |
Public IP Allocation and Routed Networking
Networking is the most critical configuration step when building a public hosting platform. For public VPS services, clients require dedicated public IPv4 and IPv6 addresses accessible from the global internet.
Hosting providers avoid basic bridged networking in multi-tenant environments because rogue guest VMs can execute ARP spoofing or steal neighbor IP addresses. Instead, administrators configure point-to-point routed networking using Linux bridges (vmbr0) or Open vSwitch.
Each guest virtual machine is assigned an isolated subnet mask with proxy ARP enabled, preventing IP collision and isolating network traffic between competing clients.
Automating Provisioning with WHMCS and Proxmox API
Manual virtual machine creation is inefficient and unsustainable for commercial growth. Modern hosting businesses automate order processing, payment collection, and VM deployment.
By connecting billing software like WHMCS or Blesta to Proxmox VE via its RESTful API, new client orders trigger automated provisioning. The system automatically creates the KVM instance, configures disk quotas, injects SSH keys via cloud-init, and emails root credentials to the customer within sixty seconds.
Many hosting entrepreneurs begin by utilizing infrastructure reseller hosting to build cash flow before investing in clustered bare-metal hypervisor nodes.
ZFS Storage Pool Architecture and ARC Memory Sizing
Storage performance is the primary differentiator between reliable virtualization platforms and poorly performing hosting environments. In a multi-tenant Proxmox VE deployment, deploying enterprise NVMe solid-state drives in a ZFS RAID10 configuration delivers optimal I/O throughput and continuous data redundancy.
ZFS employs an Adaptive Replacement Cache (ARC) in server RAM to serve frequently accessed virtual machine data blocks at bus speeds. However, without explicit configuration, ZFS can consume up to 50% of total host memory, potentially starving guest virtual machines of required RAM allocations.
Hosting administrators explicitly configure ARC size boundaries in /etc/modprobe.d/zfs.conf to preserve balanced system resources:
- ARC Min/Max Limits: Cap maximum ARC utilization to roughly 15-20% of total physical RAM to ensure ample memory remains for VM allocations.
- Separate ZFS Intent Log (SLOG): Deploy high-endurance Optane or enterprise NVMe devices for sync write acceleration to prevent disk write stalls.
- ZFS L2ARC: Attach fast secondary read cache drives to reduce physical disk access times for large customer VM image repositories.
Software-Defined Networking (SDN) and VLAN Isolation
Multi-tenant virtual machine hosting demands strict network segmentation to prevent tenant data leakage and packet interception. Proxmox VE integrates software-defined networking (SDN) capabilities, allowing administrators to provision isolated virtual networks programmatically.
Deploying VXLAN overlays and VLAN-aware Linux network bridges isolates each customer’s virtual machine traffic within private virtual broadcast domains. Even if a customer runs promiscuous network analysis inside their virtual machine, they cannot inspect packets traversing neighboring tenant subnets.
At the host boundary, Linux traffic control (tc) and nftables rate-limiting policies govern tenant bandwidth allocations. Restricting peak outbound packet rates and bandwidth bursts prevents individual compromised virtual machines from saturating the physical uplink interface.
Automated Client Provisioning with Cloud-Init and API Automation
Modern hosting services require instantaneous virtual machine deployment immediately following customer checkout. Manually installing operating systems via ISO images is unscalable and introduces operational delays.
Proxmox VE provides a comprehensive REST API that integrates seamlessly with billing platforms like WHMCS, HostBill, or custom orchestration microservices. Automated provisioning scripts clone pre-configured VM templates and apply customer-specific network parameters using Cloud-Init.
Cloud-Init automatically injects the customer’s SSH public keys, assigns static public IPv4/IPv6 addresses, and sets administrative credentials during the first machine boot. Within 60 seconds of order payment, customers receive fully accessible, secured virtual machines.
Live Virtual Machine Migration and Cluster Quorum High Availability
Delivering enterprise-grade hosting uptime requires the capability to perform hardware maintenance without taking customer virtual machines offline. Proxmox VE clustering integrates live migration across nodes over dedicated storage networks.
During live migration, the hypervisor pre-copies guest RAM pages to the target physical host while the virtual machine continues executing. A momentary sub-second freeze transfers the remaining dirty memory pages and switches CPU execution to the destination node seamlessly.
Maintaining a minimum three-node Proxmox cluster ensures Corosync cluster quorum remains healthy during node failover events. Automated watchdog timers and fencing agents reboot degraded hypervisors instantly, restoring redundant guest services without human intervention.
Hardening Proxmox VE Nodes for Commercial Multi-Tenancy
Securing the underlying hypervisor host is mandatory before onboarding commercial hosting clients. Implementing these essential security controls protects hypervisor integrity:
- Bind the Proxmox Web GUI (port 8006) and SSH management interfaces strictly to an isolated private VPN or out-of-band management network.
- Implement hardware two-factor authentication (U2F / TOTP) across all administrative accounts accessing the hypervisor.
- Configure CPU model settings to
hostwith security mitigations enabled to protect against Meltdown, Spectre, and speculative execution vulnerabilities. - Establish automated Proxmox Backup Server (PBS) schedules to execute incremental, deduplicated customer VM backups daily.
- Deploy watchdog timers and automated kernel panic reboots to maintain high infrastructure availability.
Resource Quotas and Noisy Neighbor Mitigation
In multi-tenant virtualization, unconstrained virtual machines can consume excessive physical host resources, degrading the performance of neighboring clients. Proxmox VE utilizes Linux cgroups to enforce strict CPU, memory, and disk I/O limits.
Administrators assign CPU units and IOPS quotas directly in the VM configuration files. By setting disk write limits (MB/s and IOPS) on virtual drive attachments, storage controllers smoothly throttle runaway database updates or heavy compile jobs before they cause latency spikes across the shared storage pool.
Similarly, disabling memory ballooning on premium VPS hosting plans guarantees dedicated RAM allocations, preventing unexpected swap overhead during unexpected customer traffic spikes.
Key Architectural Summary: Launching a Resilient Virtualization Infrastructure
Building a commercial virtual machine hosting platform on Proxmox VE provides hosting providers with complete control over performance, security, and profit margins. Leveraging enterprise bare-metal servers eliminates cloud vendor lock-in and excessive virtualization markups.
By implementing robust ZFS storage tiers, isolated software-defined networks, and automated Cloud-Init provisioning, hosting operators deliver enterprise-grade stability to their clients. Ongoing host hardening and disciplined resource quotas ensure consistent, high-speed virtual machine hosting as your infrastructure scales.
Frequently Asked Questions
Conclusion: Scaling a Profitable VPS Hosting Business
Proxmox VE provides an enterprise virtualization foundation for building a successful VPS hosting service. Combining bare-metal server performance with automated billing and ZFS data protection creates a scalable, high-margin hosting infrastructure.
Deploy enterprise hypervisor servers with OnliveServer high-compute bare-metal dedicated servers, engineered with routed IP blocks, high-speed uplink ports, and 24/7 technical management.
