

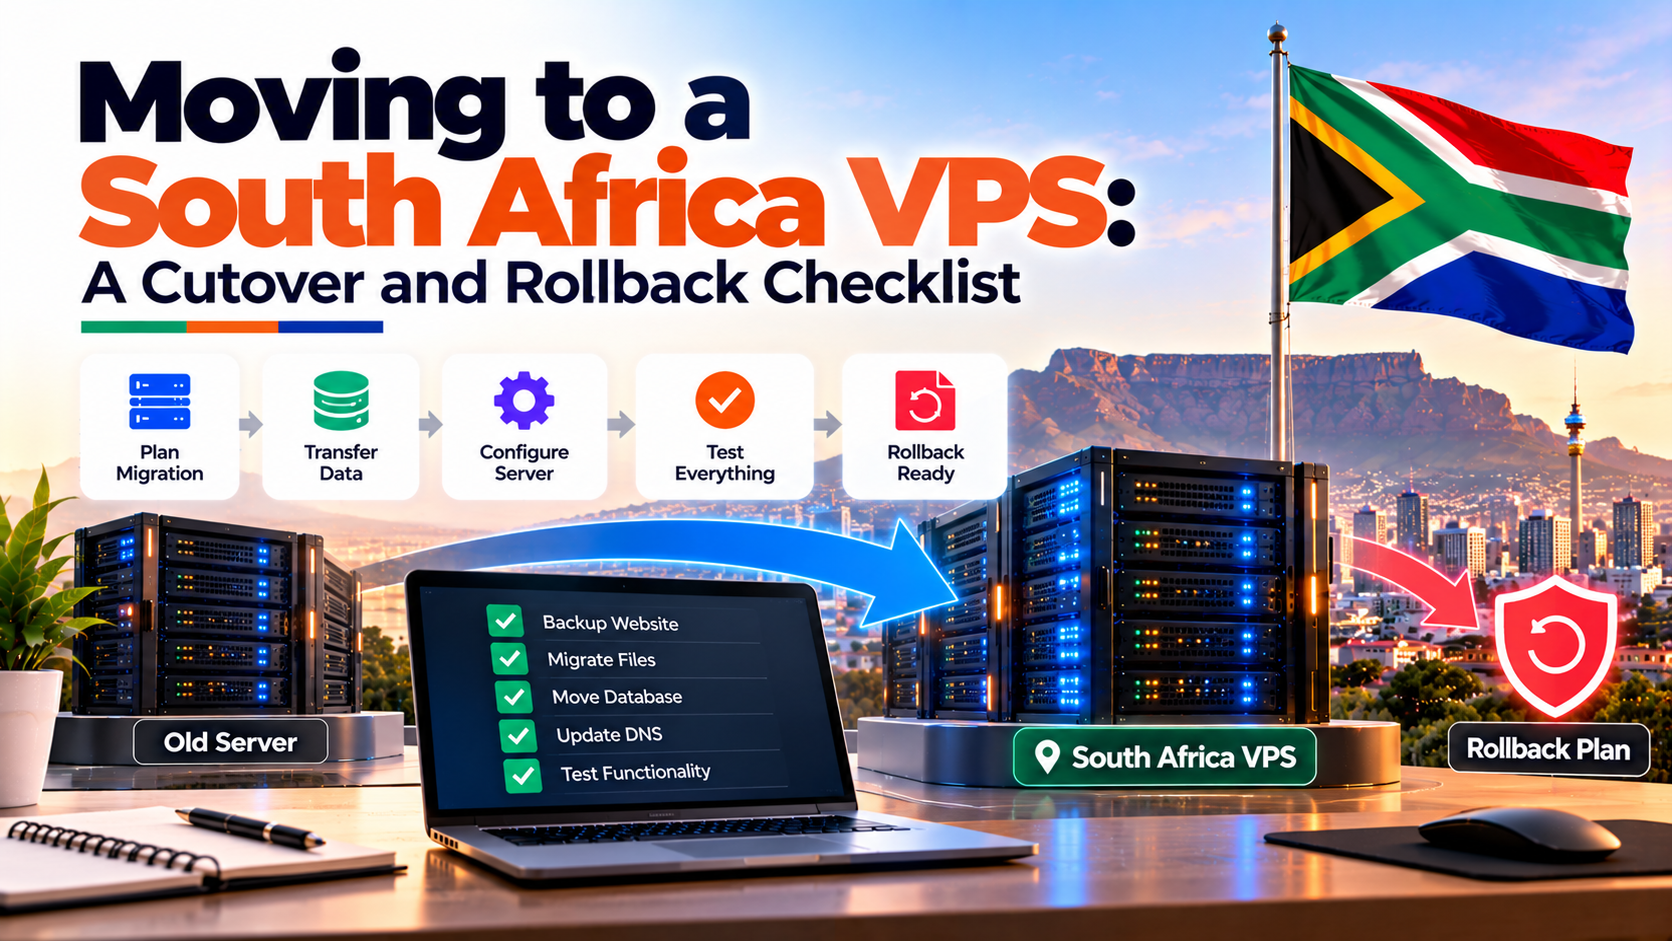
For growing South African businesses, outgrowing shared hosting is a proud milestone. However, the prospect of moving a revenue-generating website or mission-critical portal can feel daunting for business owners and system administrators alike.
Specifically, when you plan to migrate website to vps servers, unplanned downtime directly harms brand credibility, search engine rankings, and daily sales. In an active e-commerce or customer portal, losing database orders during a sloppy cutover creates painful administrative reconciliation.
Furthermore, moving your digital footprint to enterprise south africa vps hosting inside Johannesburg unlocks major speed advantages. By peering directly at NAPAfrica, your applications gain sub-10ms response times across domestic fiber and mobile networks.
In addition, a flawless migration requires a proven engineering checklist. This operational manual guides you through pre-migration preparation, differential synchronization, staging validation, DNS cutover mechanics, and fail-safe rollback procedures.
Key Technical Architecture & Engineering Takeaways
Evaluating enterprise hosting infrastructure requires verifiable telemetry across compute isolation, hypervisor performance, and domestic carrier interconnects:
Pre-Migration Planning: Zero-Downtime Strategy
Specifically, the secret to an unhurried, flawless migration lies in actions taken days before transferring any production data. Rushing into a live server cutover without adequate preparation almost always triggers unexpected DNS caching bottlenecks.
First, you must reduce the Time-to-Live (TTL) on your domain name records. By default, most South African domain registrars (including Domains.co.za, 1-grid, Afrihost, and Xneelo) set DNS A-record TTL values to 86,400 seconds (24 hours) or 43,200 seconds (12 hours).
If you switch IP addresses while the TTL is set to 24 hours, local Internet Service Providers like Openserve, Vodacom, and MTN will continue routing visitors to your old server for up to a full day. Consequently, half your customers will interact with the old server while the other half see the new server.
Specifically, exactly 48 hours before your planned cutover window, log into your DNS zone manager and lower the TTL of your root (@) and www A-records to 300 seconds (5 minutes). This allows the old 24-hour cache timers across global DNS resolvers to expire gracefully. Therefore, when you execute the final IP cutover, global traffic shifts to your new Johannesburg VPS within 300 seconds.
Second, conduct a thorough disk storage and database audit. Remove obsolete staging backups, error logs, and legacy database revisions from your current hosting account to minimize unnecessary file transfer bloat.
📌 Table of Contents
- Pre-Migration Planning: Zero-Downtime Strategy
- Configuring & Hardening the Target VPS
- Data Synchronization Runbook: Files & Databases
- Pre-Cutover Verification: Staging & SSL Setup
- Live Cutover Window: DNS Repointing & Routing
- Emergency Rollback Protocols & Disaster Recovery
- Production Cutover & Rollback Checklist
- Frequently Asked Questions (FAQ)
Configuring & Hardening the Target VPS
Furthermore,
Before moving application data, your new South African virtual server must be configured to match or exceed the runtime capabilities of your source environment. Software discrepancies between servers are a primary source of 500 Internal Server Errors.
Growing web properties frequently initiate server migrations after overcoming shared hosting 503 throttling bottlenecks that degrade visitor satisfaction during peak traffic hours.
Specifically, record the exact PHP version, PHP extension modules (such as gd, imagick, curl, mbstring, intl), and MySQL/MariaDB database versions running on your legacy host. Ensuring matching software versions eliminates syntax incompatibilities during initial launch.
In addition, this provisioning phase represents the perfect opportunity to implement modern performance enhancements. For instance, you can upgrade from outdated Apache web servers to high-concurrency Nginx or LiteSpeed, install Redis in-memory caching, and tune your MariaDB InnoDB buffer pool.
upload_max_filesize and post_max_size to 128 MB.memory_limit to 512 MB for e-commerce stores.Furthermore, verify that your new VPS instance communicates reliably with local mail delivery relays or external transactional SMTP services like SendGrid or Postmark.
Data Synchronization Runbook: Files & Databases
Transferring large volumes of website files (such as WordPress wp-content/uploads directories) over domestic internet connections can take hours. To minimize maintenance downtime, professional engineers employ a dual-stage differential synchronization strategy.
To achieve near-instantaneous cutover sync, migration scripts leverage the official rsync algorithm and documentation resources.
Specifically, Stage 1 involves transferring 99% of your media files and codebase while your production website remains fully operational on the old server. Using the command-line utility rsync over an encrypted SSH connection, files copy directly between the two servers without downloading data to your personal workstation.
Similarly, Execute this command from your new Johannesburg VPS terminal to copy website assets directly from the legacy server:
rsync -avzP --exclude 'wp-content/cache' user@legacy-server-ip:/var/www/html/ /var/www/html/Accordingly,
In practice, the -a flag preserves file permissions, -v enables detailed logging, -z compresses data during transit, and -P allows partial resume if an internet interruption occurs.
Then, during the final maintenance window, you place the old website in temporary maintenance mode to freeze incoming orders or comments. At that moment, you export the database cleanly using mysqldump:
mysqldump -u dbuser -p --single-transaction --quick dbname > live_db_dump.sqlConsequently, a second rapid delta rsync runs in less than two minutes, copying only the tiny database dump and any brand-new images uploaded during the day.
Pre-Cutover Verification: Staging & SSL Setup
As a result,
In practice, never switch public DNS records until you have verified that your website functions flawlessly on the new server. Testing before cutover ensures that subtle bugs, database connection errors, and broken image links are caught in private.
Prior to executing the final DNS cutover, systems engineers should validate data integrity by verifying database restoration drills on the new target environment.
Specifically, you can test your live domain name pointing directly to the new VPS IP address using your computer’s local hosts file. This allows your personal browser to load the website from the new server while all other global users continue loading from the old server.
Moreover,
On Windows, edit C:\Windows\System32\drivers\etc\hosts as Administrator. On macOS or Linux, edit /etc/hosts with sudo. Add this line:
197.242.144.10 yourdomain.co.za www.yourdomain.co.zaSave the file and open an incognito browser window. You can now log into your WordPress admin dashboard, test WooCommerce add-to-cart workflows, verify contact forms, and inspect server error logs in complete isolation.
In addition, pre-provision your SSL/TLS certificate on the new server before changing DNS. By using Let’s Encrypt DNS-01 API validation challenges or importing your existing private key and certificate bundle, you ensure that visitors never encounter an intimidating “Your Connection is Not Private” browser warning during cutover.
Live Cutover Window: DNS Repointing & Routing
In addition, Once data synchronization and staging validation are complete, executing the actual production cutover is straightforward and fast.
First, choose an off-peak maintenance window. For South African retail and corporate websites, the ideal time is typically between 23:00 and 02:00 SAST on a Tuesday or Wednesday evening, avoiding peak weekend shopping and Monday morning traffic.
Second, log into your DNS management portal and update your @ and www A-records to point to your new Johannesburg VPS public IP address.
Because you reduced your DNS TTL to 300 seconds 48 hours earlier, global DNS recursive resolvers begin routing real user traffic to your new virtual server in under five minutes. You can monitor live Nginx access logs on the new server to watch customer requests arrive.
Finally, disable maintenance mode on the new server while keeping the old server in maintenance mode. This prevents any delayed straggler requests from placing ghost orders on the deprecated host.
Emergency Rollback Protocols & Disaster Recovery
Furthermore, every professional engineering project requires a documented rollback strategy. Even with exhaustive staging testing, unforeseen third-party API firewall blocks or complex software edge cases can arise under live production load.
Seamless transition from legacy hosting platforms is facilitated by zero-downtime server migration solutions backed by Onlive Server’s technical migration engineers.
Specifically, Crucially, never delete or cancel your old hosting account immediately after cutover. Keep the legacy server active, intact, and in an idle maintenance state for at least seven full days following migration.
Therefore, If a catastrophic error occurs on the new VPS, executing a complete rollback takes less than five minutes:
- 1Update DNS A-records back to your original legacy hosting IP address.
- 2Deactivate maintenance mode on the old server to resume normal traffic handling.
- 3If orders were placed on the new server during the brief test window, export those specific database tables and import them into the legacy database.
- 4Diagnose the root cause in your new VPS logs without operational panic or prolonged business outage.
Therefore, maintaining this dual-environment safety net ensures that migrating to advanced VPS infrastructure carries zero existential business risk.
Frequently Asked Questions (FAQ)
Core Technical Specifications
Q1
How can I achieve zero downtime when migrating my South African website to a VPS?
Q2
Why should I lower my DNS TTL before starting a server migration?
Q3
How do I migrate email mailboxes to a new VPS without losing incoming customer messages?
Q4
Can I migrate an existing cPanel backup directly into DirectAdmin or CyberPanel?
Q5
What should I do if a migration encounters unexpected errors?
Q6
How can I verify that my migrated website works on the new VPS before switching public DNS?
Q7
Does Onlive Server provide free migration assistance for new hosting accounts?
Execute Flawless Zero-Downtime Migration to Local Infrastructure
Consequently, migrate your databases, configurations, and assets seamlessly with expert pre-flight audits and fail-safe cutover plans.
Furthermore, Get Assistance with South Africa VPS Migrations →
